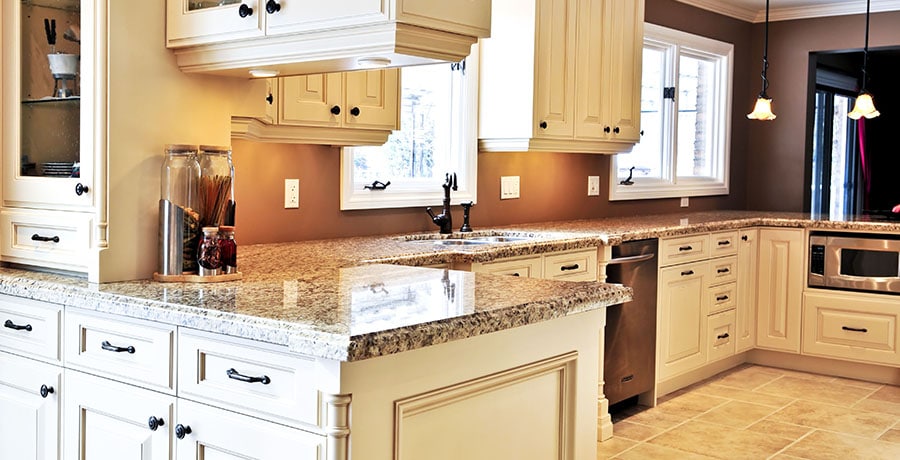
How Do You Fix Stained Granite Countertops?
Do you know what’s worse than cracked countertops? Permanent stains! They’re ugly, they’re a nightmare to get rid of and […]
Do you know what’s worse than cracked countertops? Permanent stains! They’re ugly, they’re a nightmare to get rid of and […]
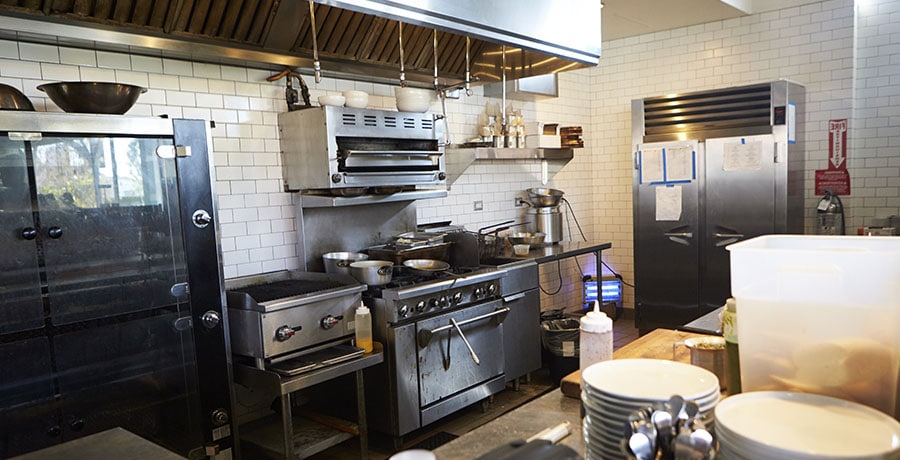
Commercial dishwashers are key kitchen appliances in the hospitality industry. They are designed to clean and dry several batches of
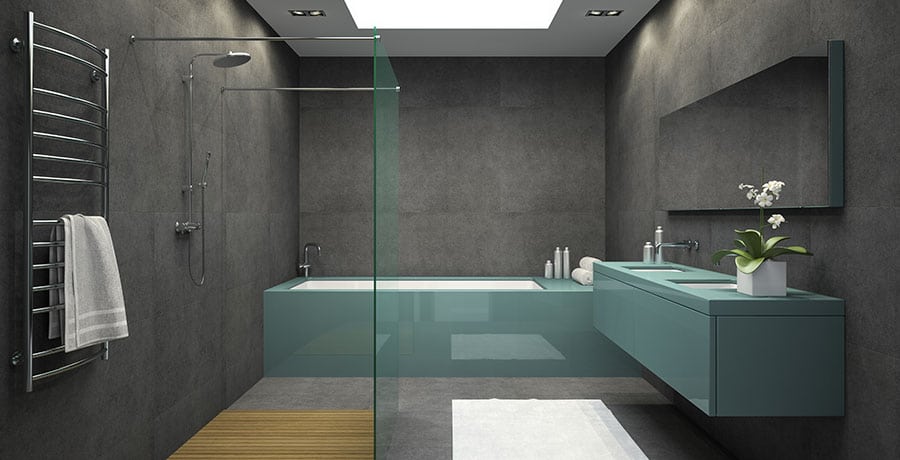
Is your bathroom in need of some serious remodeling? Well, this is also a great time for all of the

Retaining walls are structures built to hold back soil and debris. You can get this built by patio builders. These
Kitchen remodeling is costly. Therefore, you should be hiring the best contractor for your kitchen remodeling. To ensure this, you

CBD has been around for quite some time now and people are curious about its hidden benefits for treating many

Hair extensions are a great way to add instant volume to your hair. There are many variants of hair extensions

High school is one of the most interesting times of a person’s life. If you want to plan a reunion

When it comes to deciding the perfect crane for your needs, considering and comparing different types could be a complicated
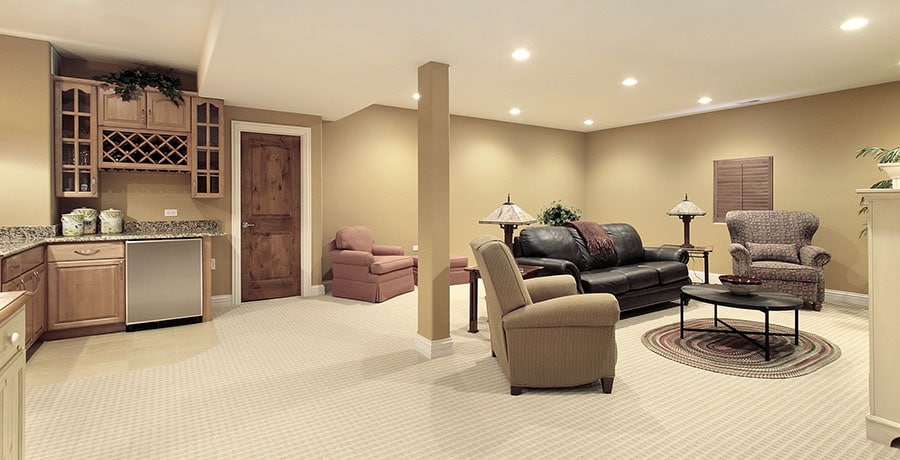
Though the open floor plan offers inviting and informal airiness, they’re hard to decorate. Especially when it comes to area