
Is It Necessary To Seal Quartz Countertops
Natural stones make great and versatile materials for kitchen countertops, but they come with the disadvantage of sealing them in […]
Natural stones make great and versatile materials for kitchen countertops, but they come with the disadvantage of sealing them in […]

Remodeling a commercial building could be due to several reasons. It could be that the building needs to be updated

Customer experience is the most important factor for successful businesses. With the ever-growing competition, businesses are trying to provide the

Going through a divorce is a painful process in itself and you need a top rated divorce lawyer to make
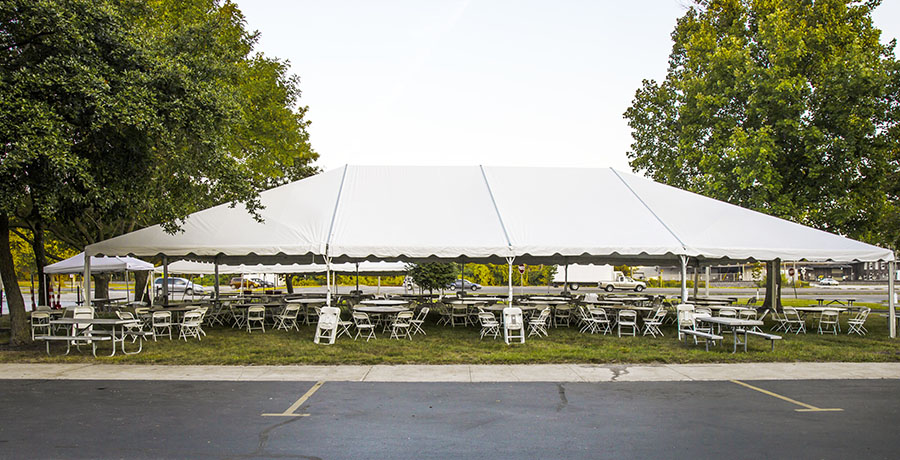
Community events can be done for a number of reasons. Fundraising, introducing new people, or simply getting together, community events
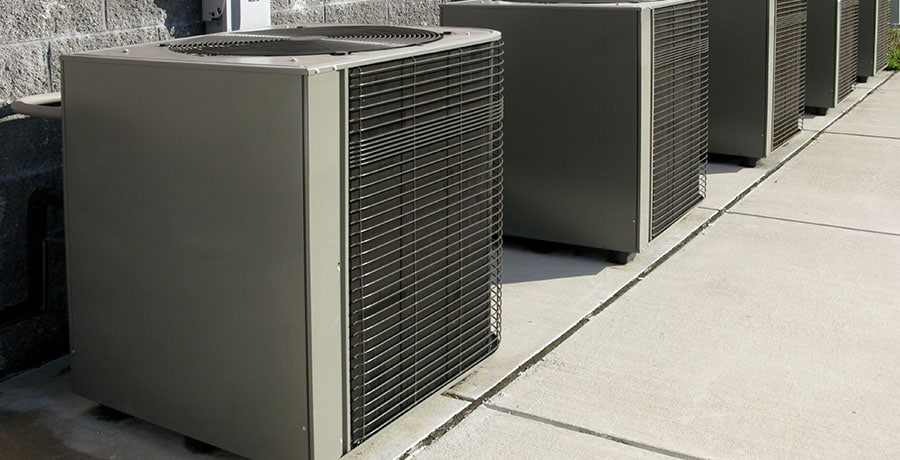
Commercial HVAC units are heavy-duty machines that work round the clock to produce a comfortable environment, especially during the summer

Those who run a commercial restaurant business know that keeping up with busy days of the week is not easy.

If you are looking for countertop replacement, then you might get confused by the variety of options available. One of

Commercial refrigerators are designed to store multiple food items at a particular temperature. These units work throughout the day to

A stone walkway does wonders to your home in terms of visual appeal. Not only does it attract the attention